
Hello,
Here's a peachy fun fold today.

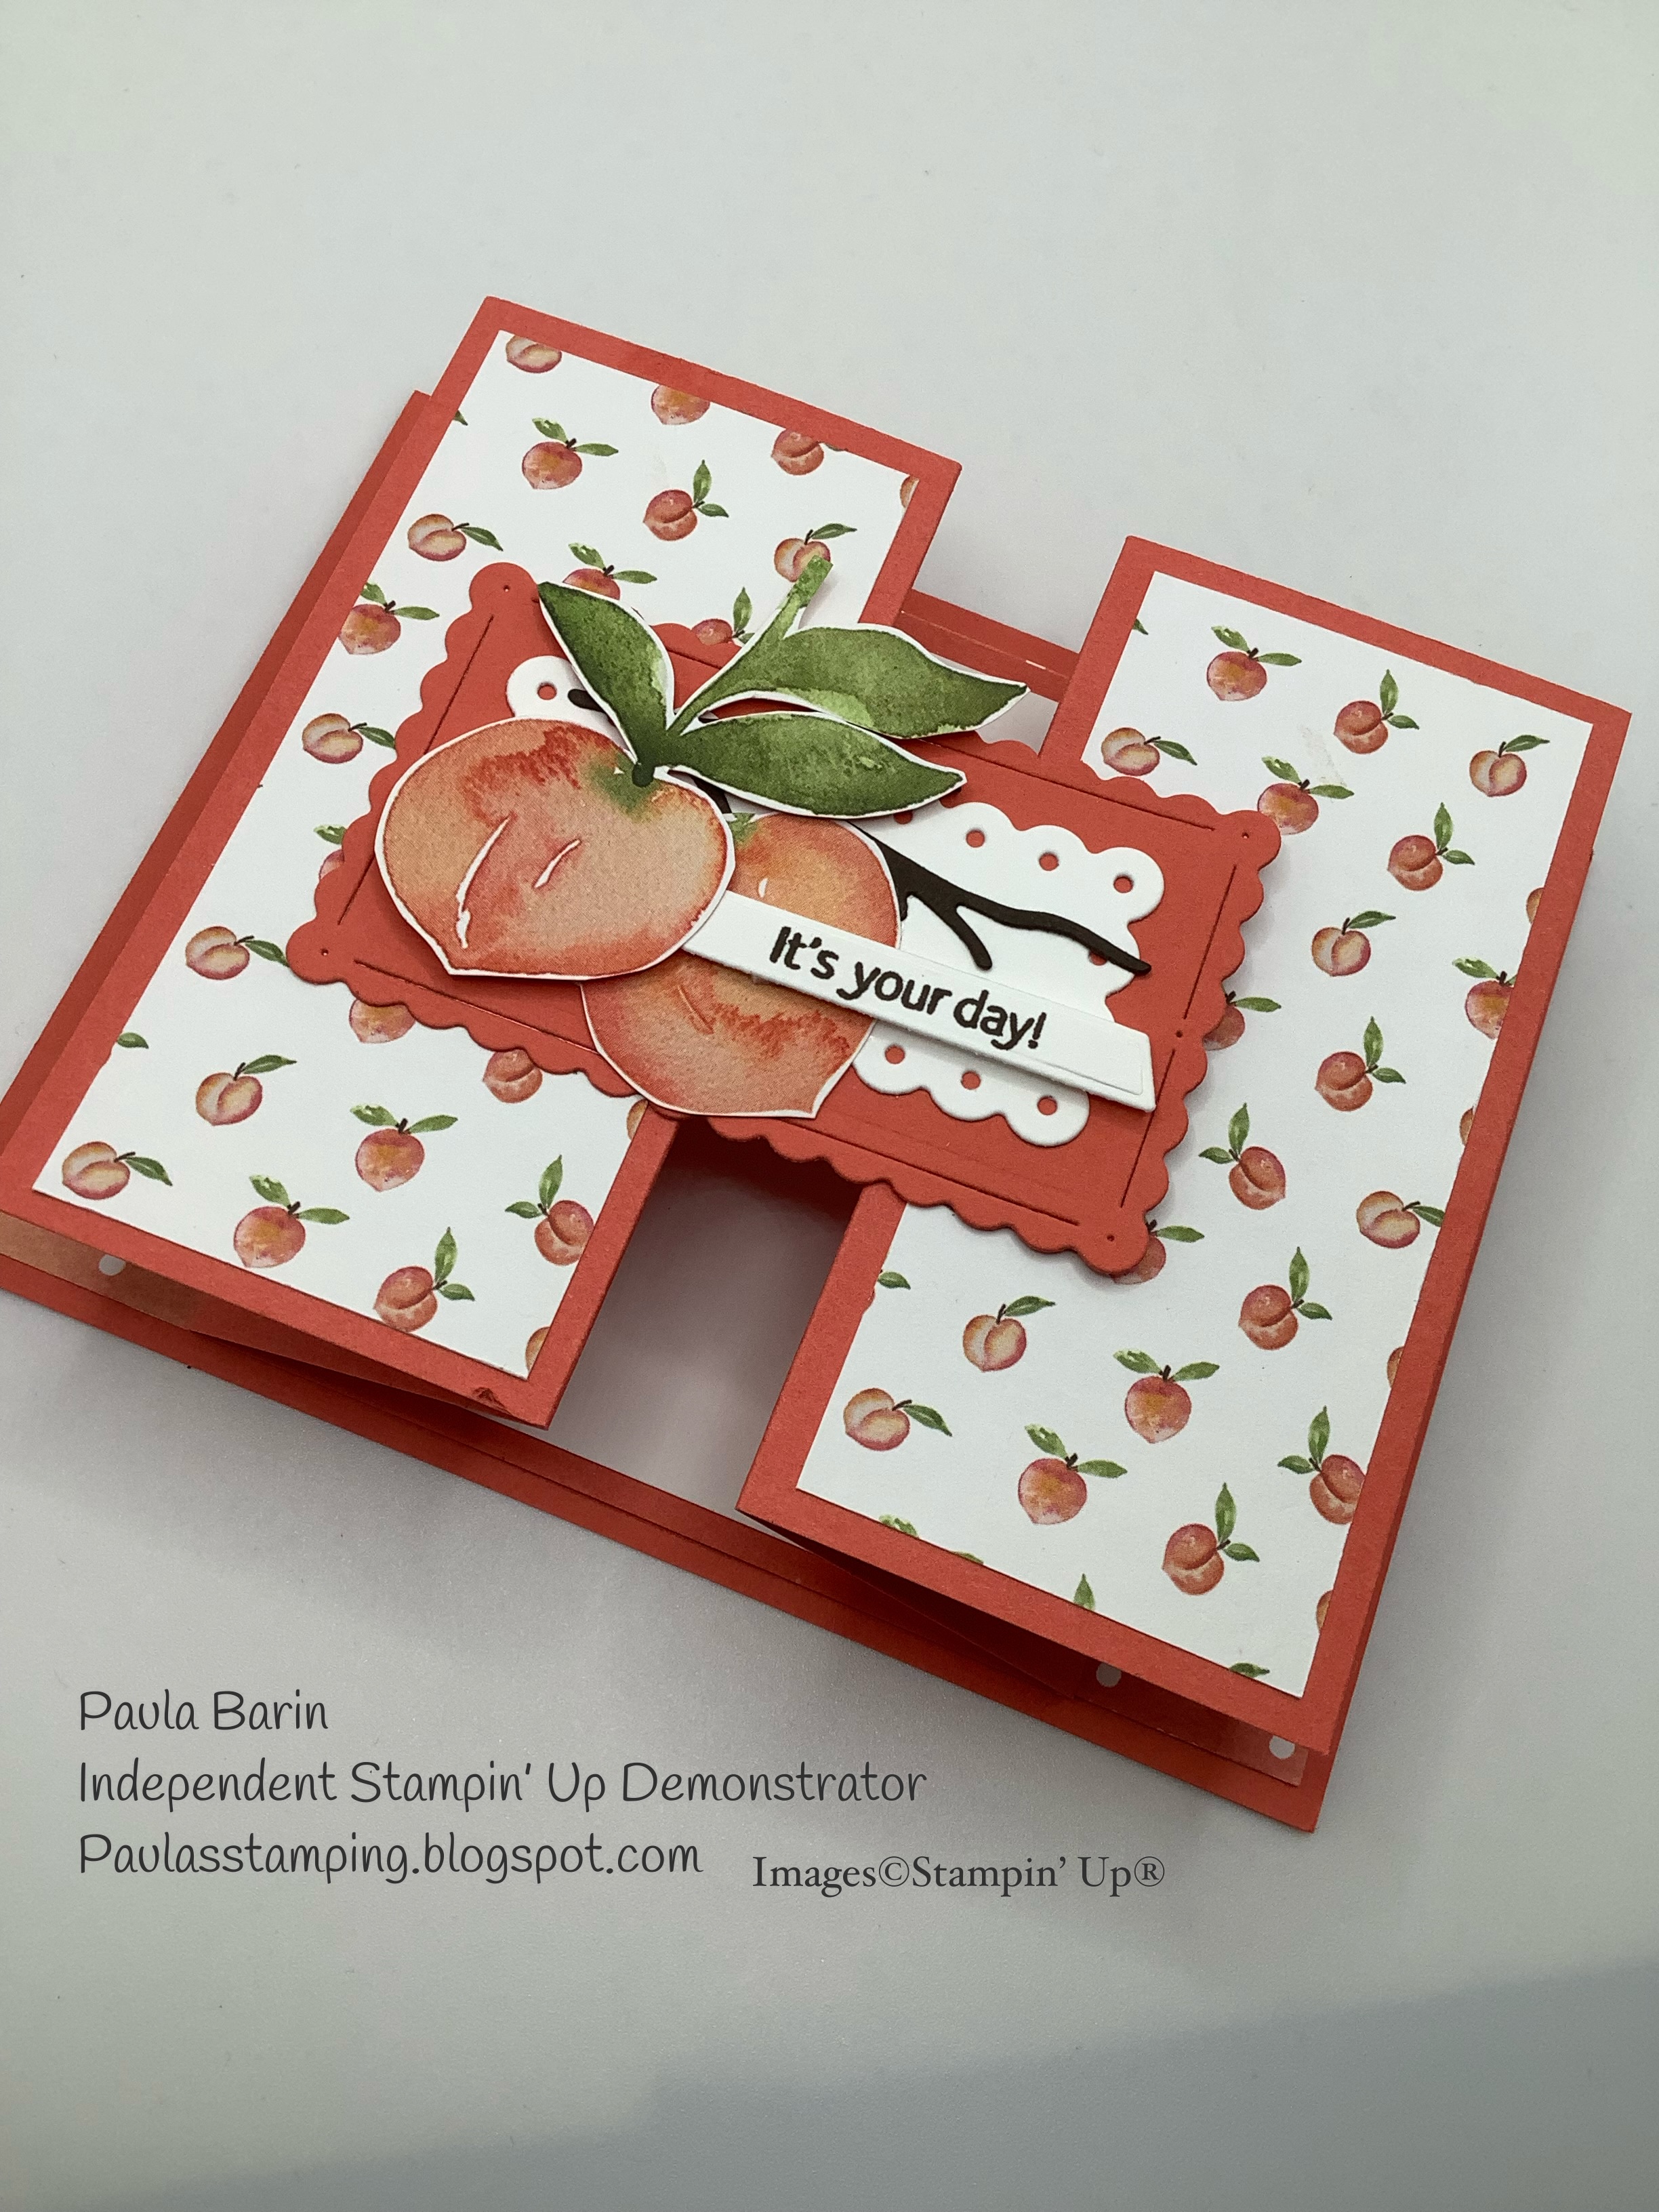
Here's how I made it.
The base measures 4 1/4 x 5 1/2. The zig zag layer measures 4 x 11 and the top layer measures 3 1/2 x 3 1/2. For my card, any of the dsp layers measure 1/4" smaller.

- Add the coordinating DSP to the layer, this will measure 4 x 5 1/4. Adhere to the base.
- Next, score the 4 x 11 piece of card stock at 2 and 3 3/4, turn 90 degrees and score the same measurements on that end. Fold and burnish the score lines as such, first score line is a mountain fold, second is a valley fold, third is a valley fold and the fourth is a mountain fold. This gives the zig zag fold.
- Now add your dsp layers. Cut 2 pieces measuring 1 3/4 x 3 3/4. Add these to the outer panels of the zig zag fold.
- Cut a piece of Basic White measuring 3 1/4 x 3 3/4 and adhere to the centre panel of the zig zag fold.
- Adhere the zig zag fold to the base, centering it as best you can. It will look like this. (The paper clip is just to hold the flaps down for the photo).

6. For the top panel layer a piece of Basic White for your image/sentiment. Be sure to do any stamping before you attach the top panel to the zig zag fold.
7. Next, add the top panel to the zig zag fold, making sure only the left side of the top panel is attached to the far left fold. Gluing the entire top panel will stop your card from opening.


Please reach out if you have any questions.
Thanks for stopping by. Until next time...
Paula
Went searching for a card idea to use with You're a Peach. I bought a ton of the DSP because I liked it so much. Found your page and I love the fun fold and will be making this today!
ReplyDeleteThis is pretty!
ReplyDeleteThis card is awesome! Thanks for the inspiration!
ReplyDelete