About

Showing posts with label 3D. Show all posts

Sunday, November 14, 2021

Poinsettia Petals

 Hello,

My friends and I always get together for a holiday luncheon. Last year we didn't because of  Covid but this year we have set a date. I made some pins for my friends, you can see them here. I wanted a pin for myself but in pink. I couldn't find any pink felt so I made one out of paper.  But not just any paper. I use the White Velvet paper from Stampin' Up.


I coloured the velvet paper with Blushing Bride using blending brushes. Blending brushes let you add colour in stages, whether light or dark depending on the amount of ink used. 

For this flower I cut out 2 large, one medium and 2 small poinsettias from the Pointsettia Petals dies. I stacked them off centre from each other adhering the petals with hot glue. Once I added leaves and the snowflake behind the flower,  I hot glued it to a piece of cardboard for stability. The pin is hot glued to the cardboard. The pins can be purchased at craft stores like Michael's.

I love the way this one turned out. 

Until next time....

Paula


Monday, November 8, 2021

Felt Flowers

 Hello,

Did you know many of the Stampin Up dies will cut thin felt or fabric? For this project I used the Poinsettia Petals dies to cut felt which I made into brooches for Christmas. I adhered the petals with a hot glue gun. Thank goodness for my trusty silicone craft sheet. When I use my glue gun, glue tends to get everywhere.🤣


Any 3D project would be fun to make with the array of dies from Stampin UP. 

Here are some ideas:

Additions to place cards for any dinner party.

Pin the penguin (Penguin Builder Punch- I have not tested punches) on the iceberg for children's parties. Or possibly stamp a playful image with Stazon ink onto some felt and fussy cut.

Felt ornament decorations (Stitched Snowflake Dies, Christmas Pinecone Dies, Gingerbread Dies) Embellish with beads, gems or jewels.

Appliques on cushions. 

Wreaths (Intricate Leaves Dies, Poinsettia Petals Dies, Butterfly Brilliance Dies)

Give it a whirl.


Until nest time....

Paula


Wednesday, October 27, 2021

Easel Card

 Easel cards are so cute. A regular card that pops up with a secret image or sentiment.


The card folds flat in order to fit into an A2 envelope. 


The center folded flap lifts up to reveal the sentiment. Be sure to pop up your sentiment strip with Dimensionals so the flap of the easel stands up.


There is space to write a personal note inside or a piece of card stock can be adhered to the back of the card.

Here are the measurements for this card:
Base: 5 1/2" x 4 1/4"
DSP for base: 5 1/4" x 4"
Easel base: 8 1/2" x 3" scored at 4 1/4" and 2 1/8"
White card stock for inside easel: 2 3/4" x 4"
White card stock to cut a 2 1/2" circle
Sentiment strip: 1/2" x 3"
Scrap card stock for embellishments

Note: if you are colouring your image with Stampin' Blends I suggest adding another circle behind as the ink will bleed through. 

Until next time.....

Paula


Saturday, October 23, 2021

Treat Box

 Hi,

Stepping away from cards today with this adorable treat box I saw Sam Hammond at pootles.co.uk make. The box measures 2" x 2" x 3". I can see these boxes at the holiday table filled with chocolate treats with each person's name on the top at their place setting. So cute!


This box is quick to put together. 
Bottom: 6" x 7" piece of card stock, scored at 2" on all sides
Lid: 4" x 5 piece of DSP, scored at 1" on all sides. (adjust the score slightly  by 1/16 of an inch).

Fold and burnish all the score lines then cut on the score lines pictured here.


Mitre the corner flap to relieve some bulk.

Then add adhesive to the corner flaps. Multi Purpose Glue or Stampin Seal+ works.

Fold the corner flaps to meet the sides of the box, making sure the edges are even.

And there you have the bottom of the box. 


Repeat the same procedure for the lid. Then decorate as desired.

Give these treat boxes a try. They can be made for any occasion...birthdays...Halloween...Easter....weddings, the possibilities are endless.

Until next time....

Paula


Thursday, October 21, 2021

Beauty of the Earth

 Hello,

Today's card is an easy fun fold. It's a box card that folds flat for mailing.

The dimensions of the card is 5 1/2" x 4 1/4". Here's the recipe:

Base: 5 1/2" x 8 1/2" scored at 4 1/4"
Box: 5 1/4" x 8 1/2" scored at 1/2". 1", 4 1/2" and 5"

Fold and burnish all the score lines. Lay the card stock flat. If you are decorating the front  of the box with DSP this is the time to adhere it to the card stock then cut a window using whatever die you wish.  Adhere the 1/2" flap to the back of the card stock. I used tear and tape but glue would work too. There's the box portion of the card made. The inside DSP measures 5 1/4" x 3 1/2". Add some glue to the back of the DSP and slide it into the box. Adhere the box to the card base. Decorate as desired.

Thanks to Leena Girsa for the inspiration. You can watch Leena's tutorial HERE.

Until next time...

Paula


Thursday, October 14, 2021

Eden's Garden

 Available November 2nd to Stampin' Up customers, this suite of products are gorgeous. Shop early before it sells out. I think it may be a popular purchase. 

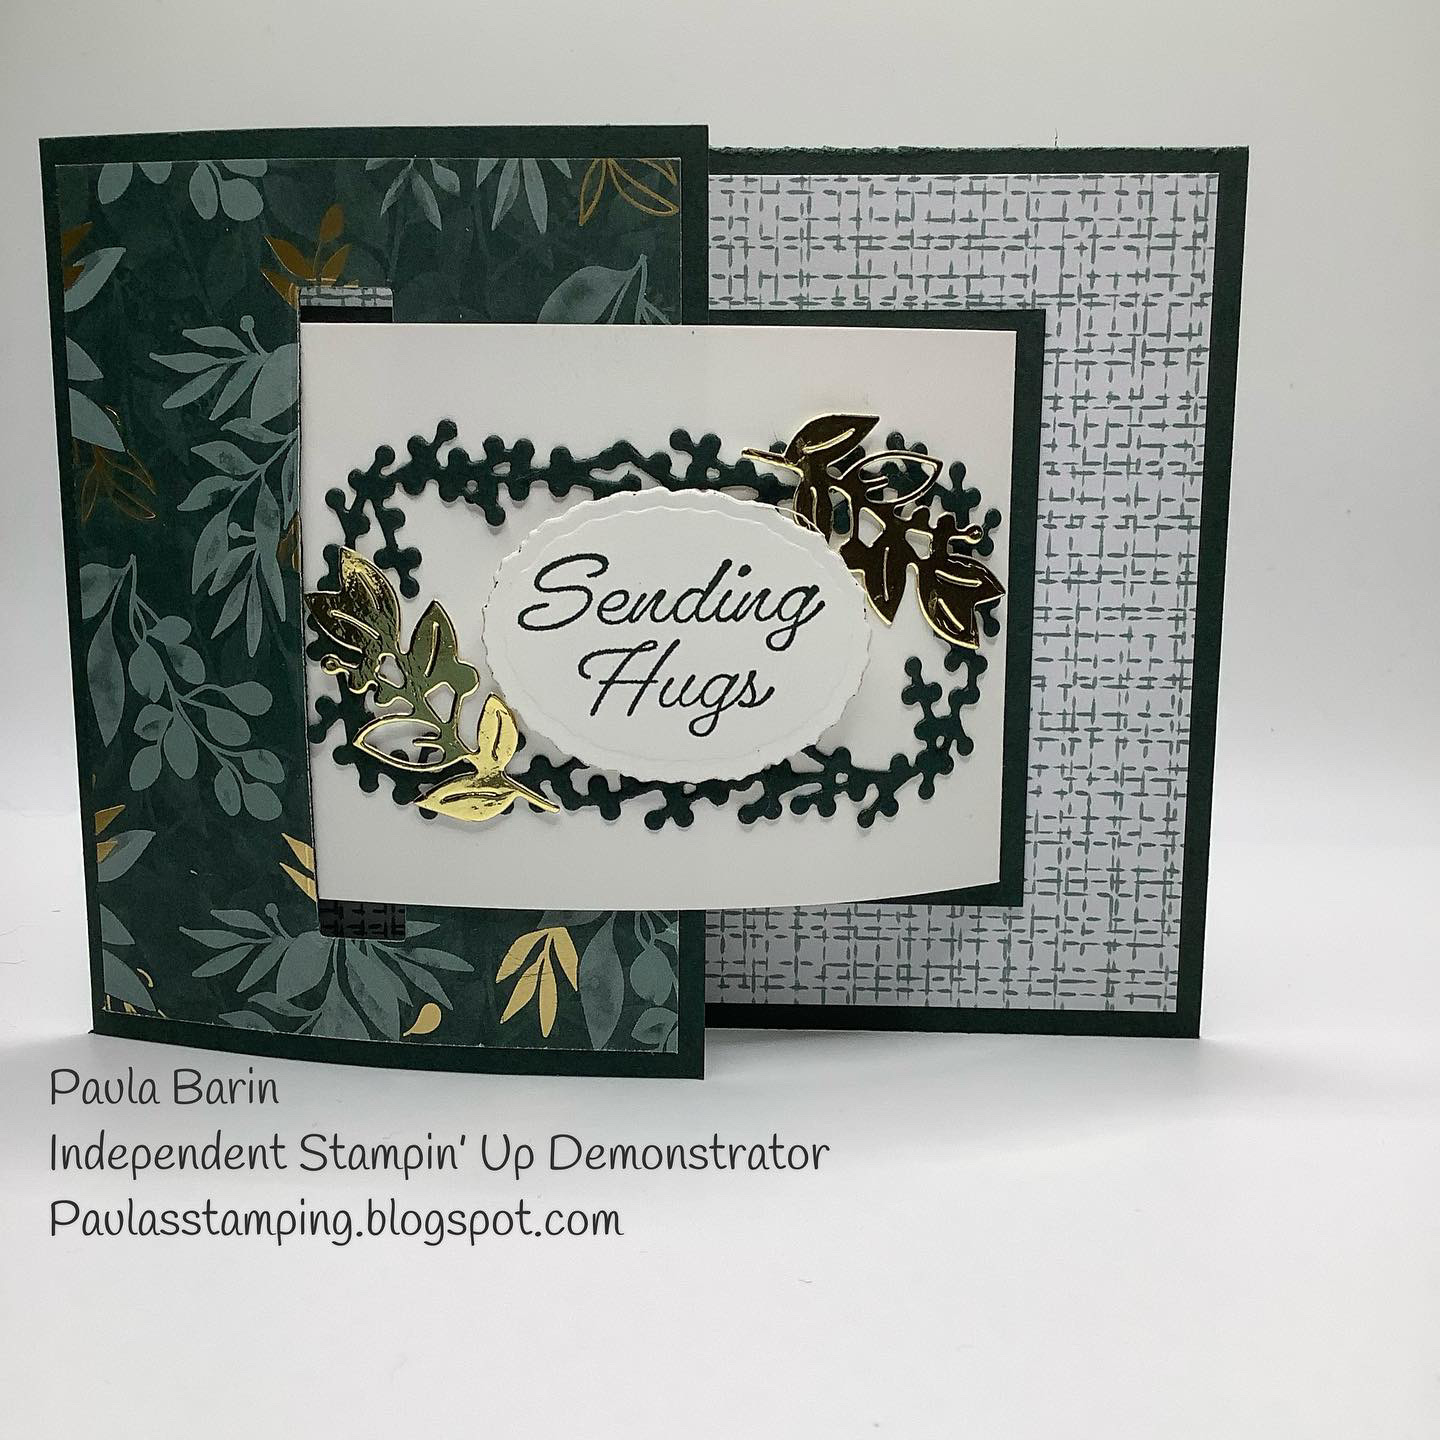
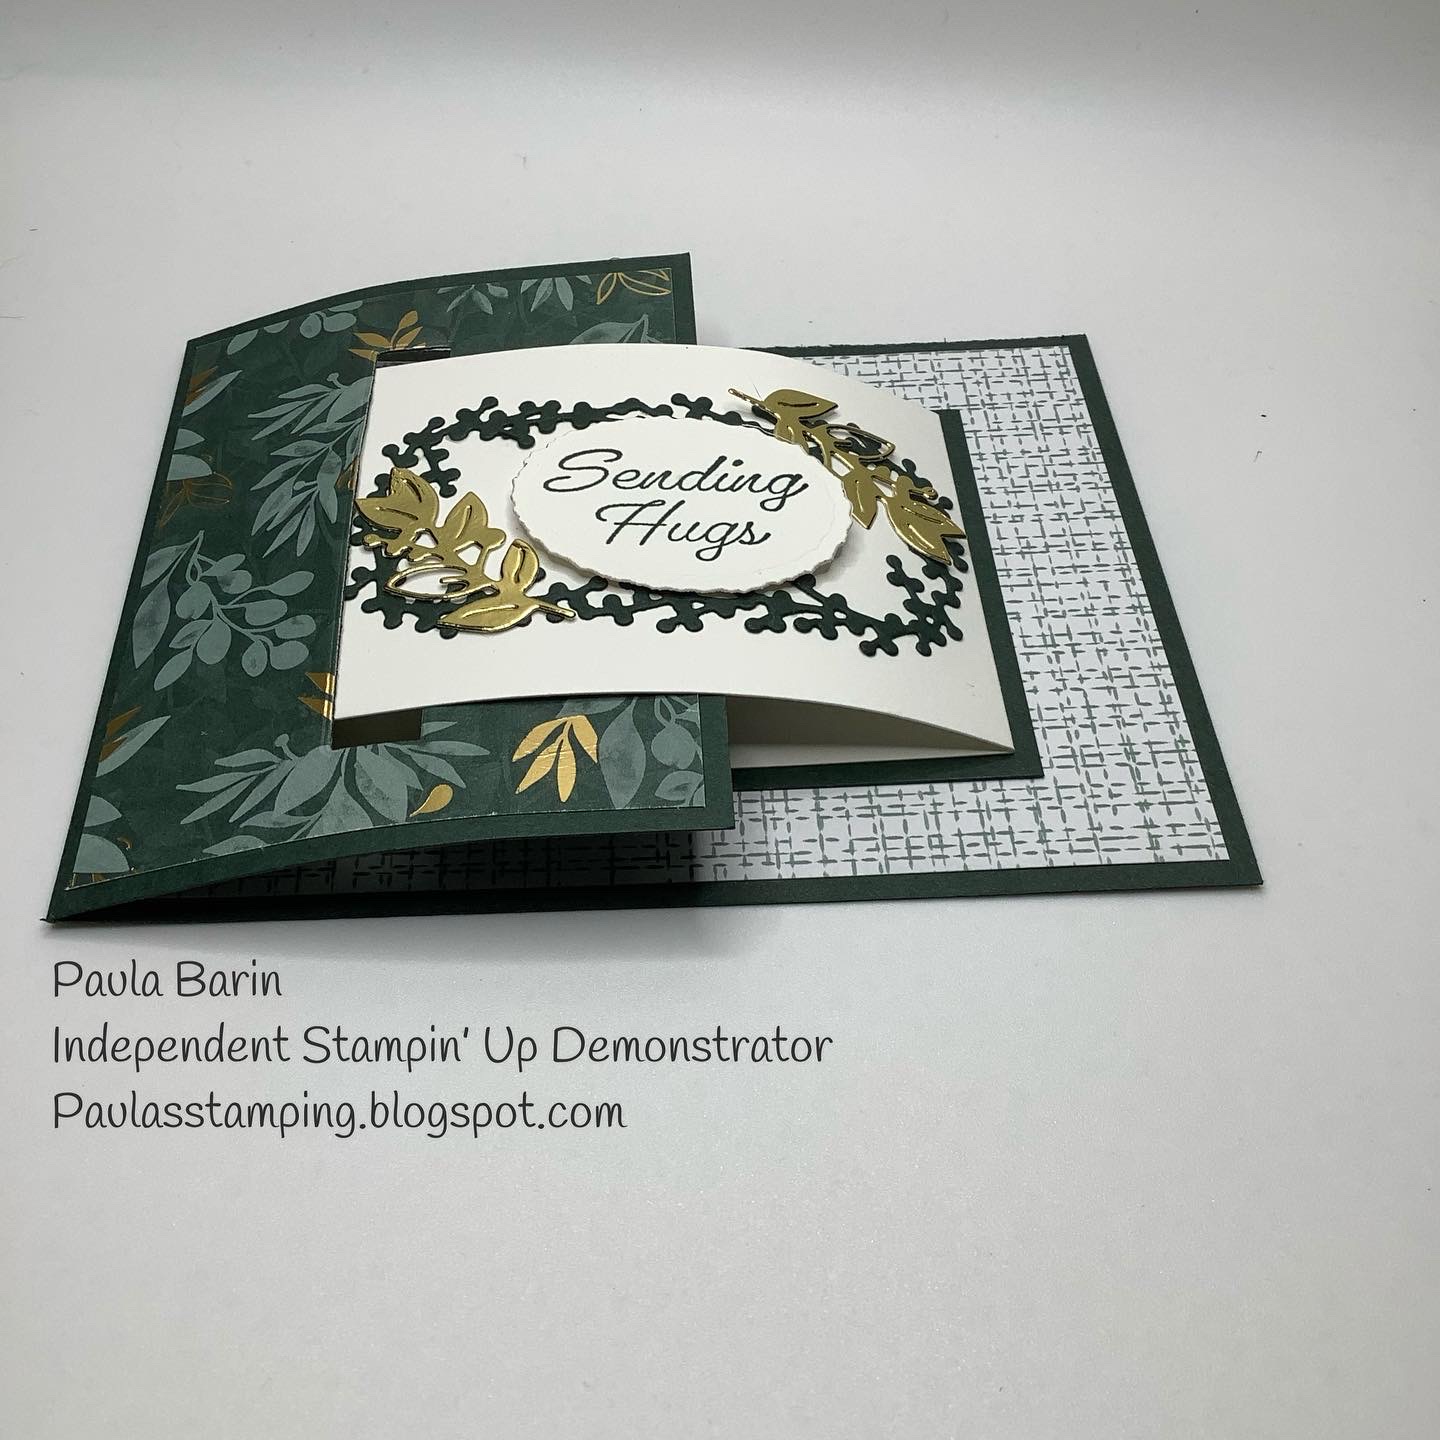
Today's card is called a buckle card. I saw this fun fold demonstrated on Lisa's Stamp Studio last night. See the way it "buckles"? But it does lie flat for mailing.

The inside portion tucks into a slit made with  any type of thin die you have on hand or using a craft knife to cut an opening measuring 7.5 cm x 1.2 cm or 3" x 1/2".


Perfect for any occasion.


Cutting Dimensions:

 • Evening Evergreen (base): 4 1/4" x 8 5/8”, score at 3 1/8”

 • Designer Series Paper (left panel): 2 7/8” x 4” 

• Designer Series Paper (center/back layer): 4” x 5 1/4" 

• Evening Evergreen (card layer): 2 7/8” x 3 3/4" 

• Thick Basic White (card): 2 5/8” x 7”, score at 3 1/2

Gold scraps for embellishments.

Check out Lisa's demonstration here.


Until next time....


Paula

Friday, October 8, 2021

Pinwheel Tower Card

 Today's card features a pinwheel tower card. This card gave me some grief when I first made one. It was in the portrait orientation with not enough room to decorate.  Julie at The Paper Pixie, showed a landscape tutorial on the tower card. Her instructions were clear and easy. Here is my version.

I chose the Peaceful Prints for my card.

The sentiment is from the Holly Jolly Wishes stamp set.

Snowflake embellishments are adhered flat to the DSP. Using dimensionals will add to the thickness of the card and may require extra postage. If the card is not going through the post, add all the embellishments you want.


Plenty of room to write a personal note.

Often Basic White is a go to for a card base. Don't forget other neutrals, like Sahara Sand (used for this card), Very Vanilla or Crumb Cake.

Until next time....

Paula


Monday, September 27, 2021

Let it Snow! Swing Card

 Let it snow...but not yet! Let's enjoy autumn.

For today's card I used the Peaceful Prints DSP. I love Stampin' Up's double-sided paper. 


Of course the little critters from the Penguin Playmates had to make an appearance.


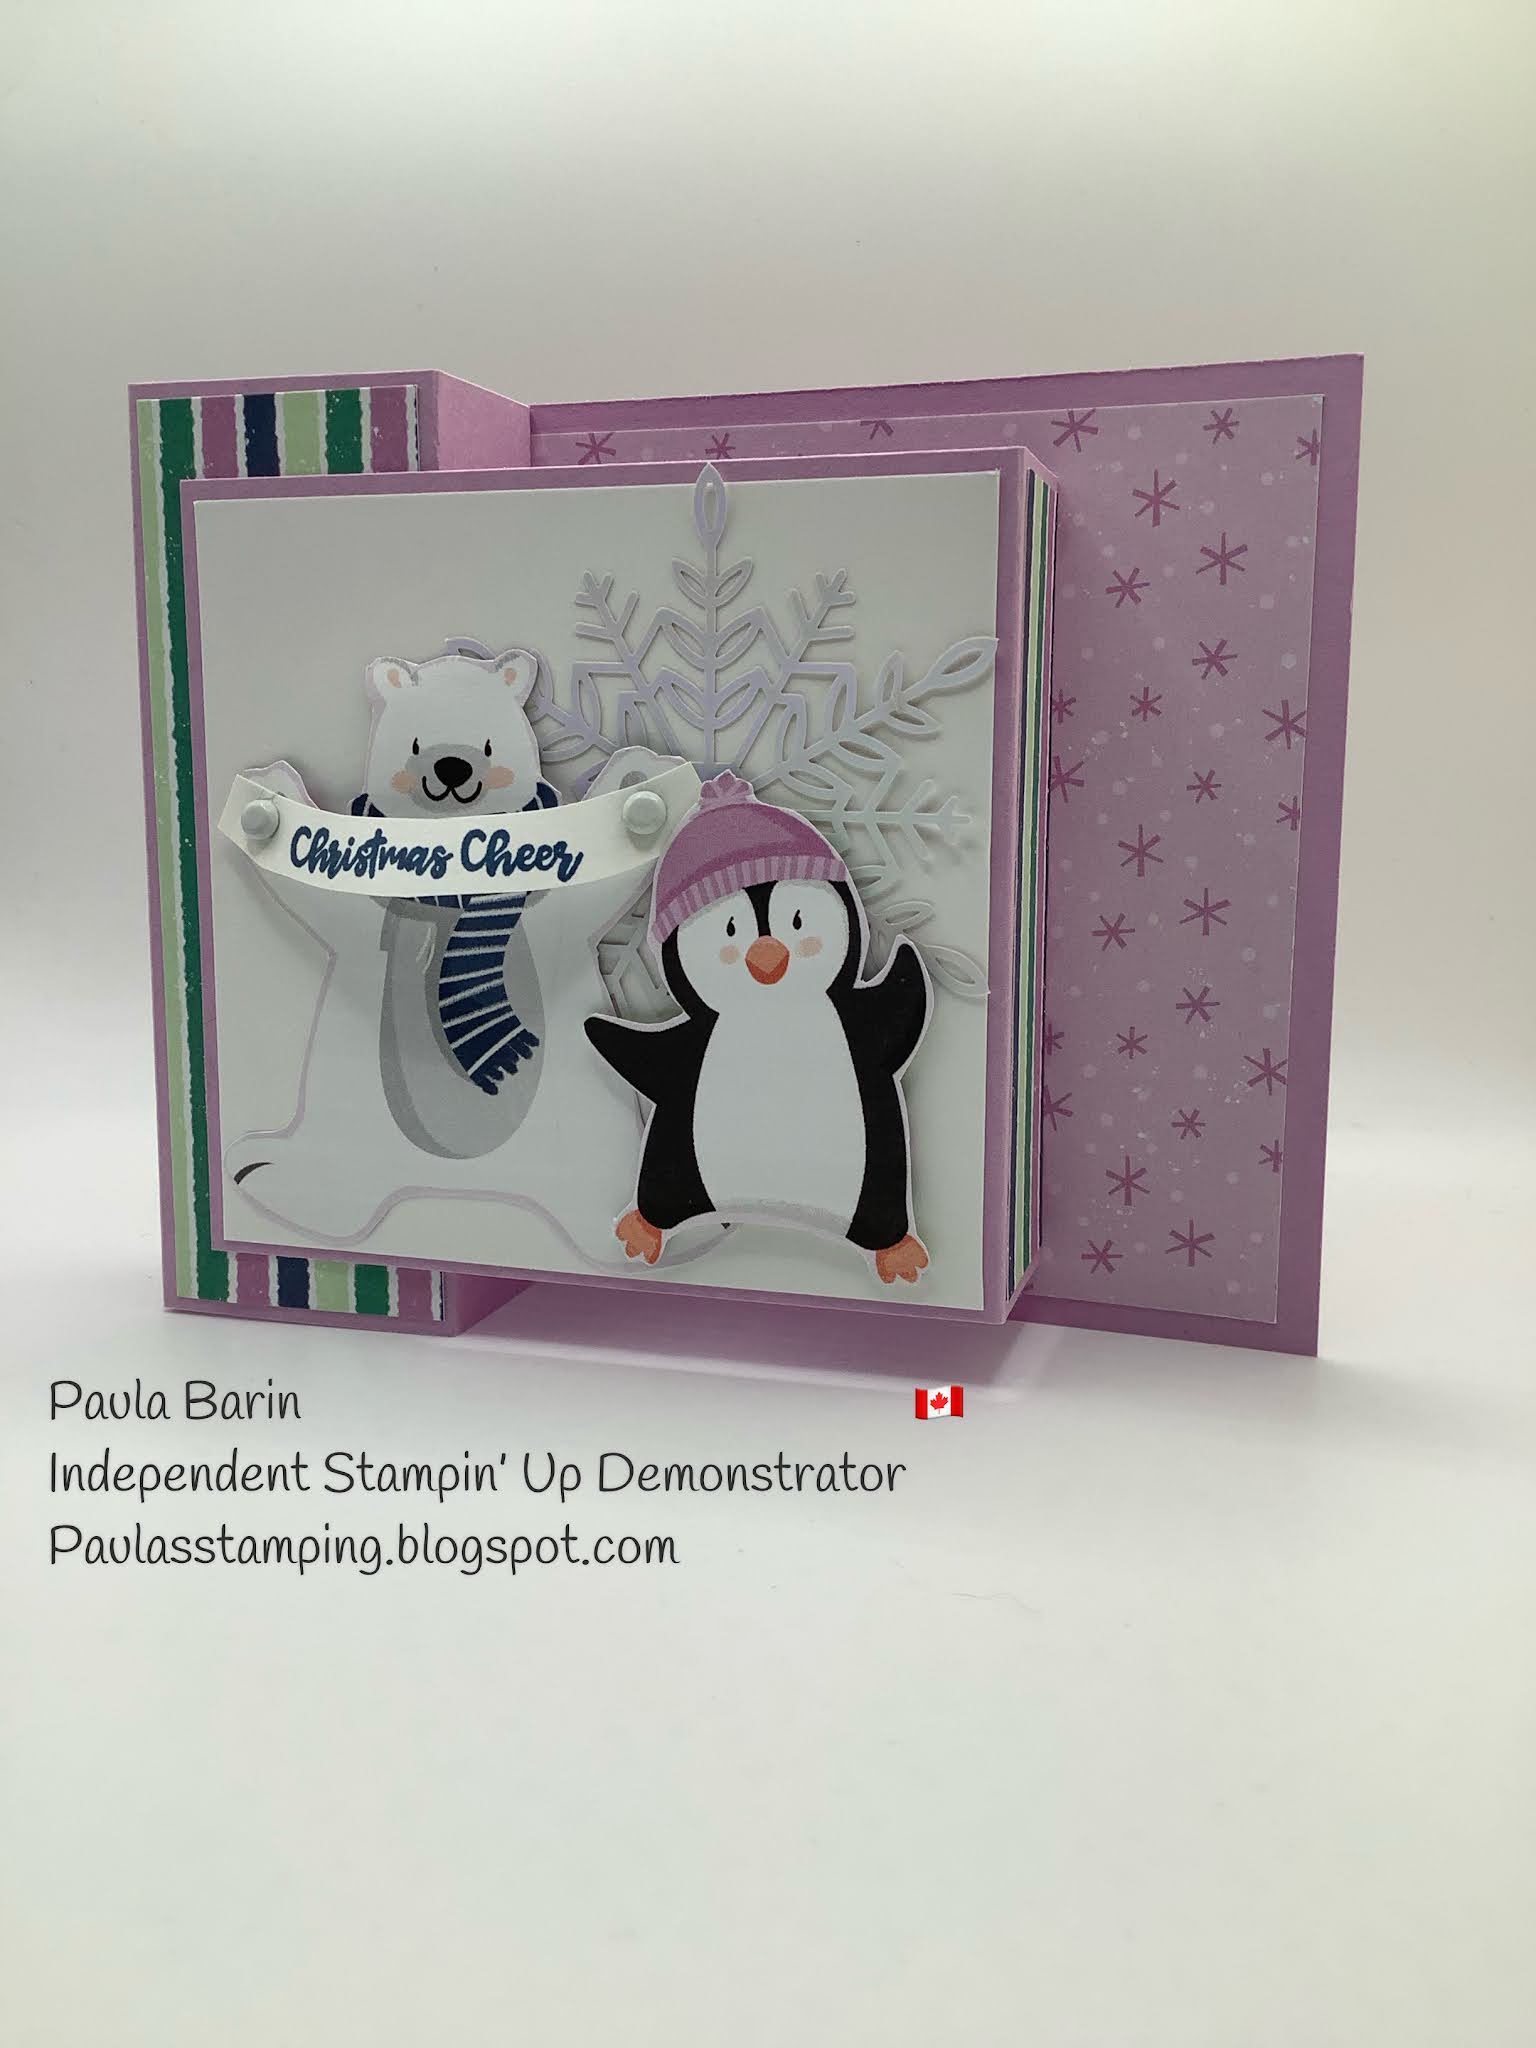
This card is called a swing card. When the card is opened the centerpiece swings so that it is visible on the inside. I saw the tutorial on Lisa's Stamp Studio https://lisasstampstudio.com/2021/09/diy-handmade-pop-out-swing-card-tutorial.html. 


The 'Let it Snow' sentiment is from the Snowman Season stamp set, available in the Annual Catalogue 2021-2022


Have you started your Christmas/Holiday cards yet?

Until next time.

Paula


Wednesday, September 22, 2021

Pop Up Box Card

 Sometimes coming up with ideas for cards is difficult. When I get to the point where I lose my mojo, I go back to cards I’ve already made for inspiration. This pop up box card is one of my favourite fun folds. It’s so easy to make and the colour combinations are endless. 


This time I used the Whimsy and Wonder DSP. This DSP is one of my favourites because of the soft non traditional Christmas colours. 


Whenever you get stuck for ideas, look back to a card that really spoke to you. Change the colours, embellishments and sentiments and you have a brand new card. 

This is the card I chose to copy from my stash.

Until next time.

Paula


Wednesday, September 15, 2021

Sweet Stockings

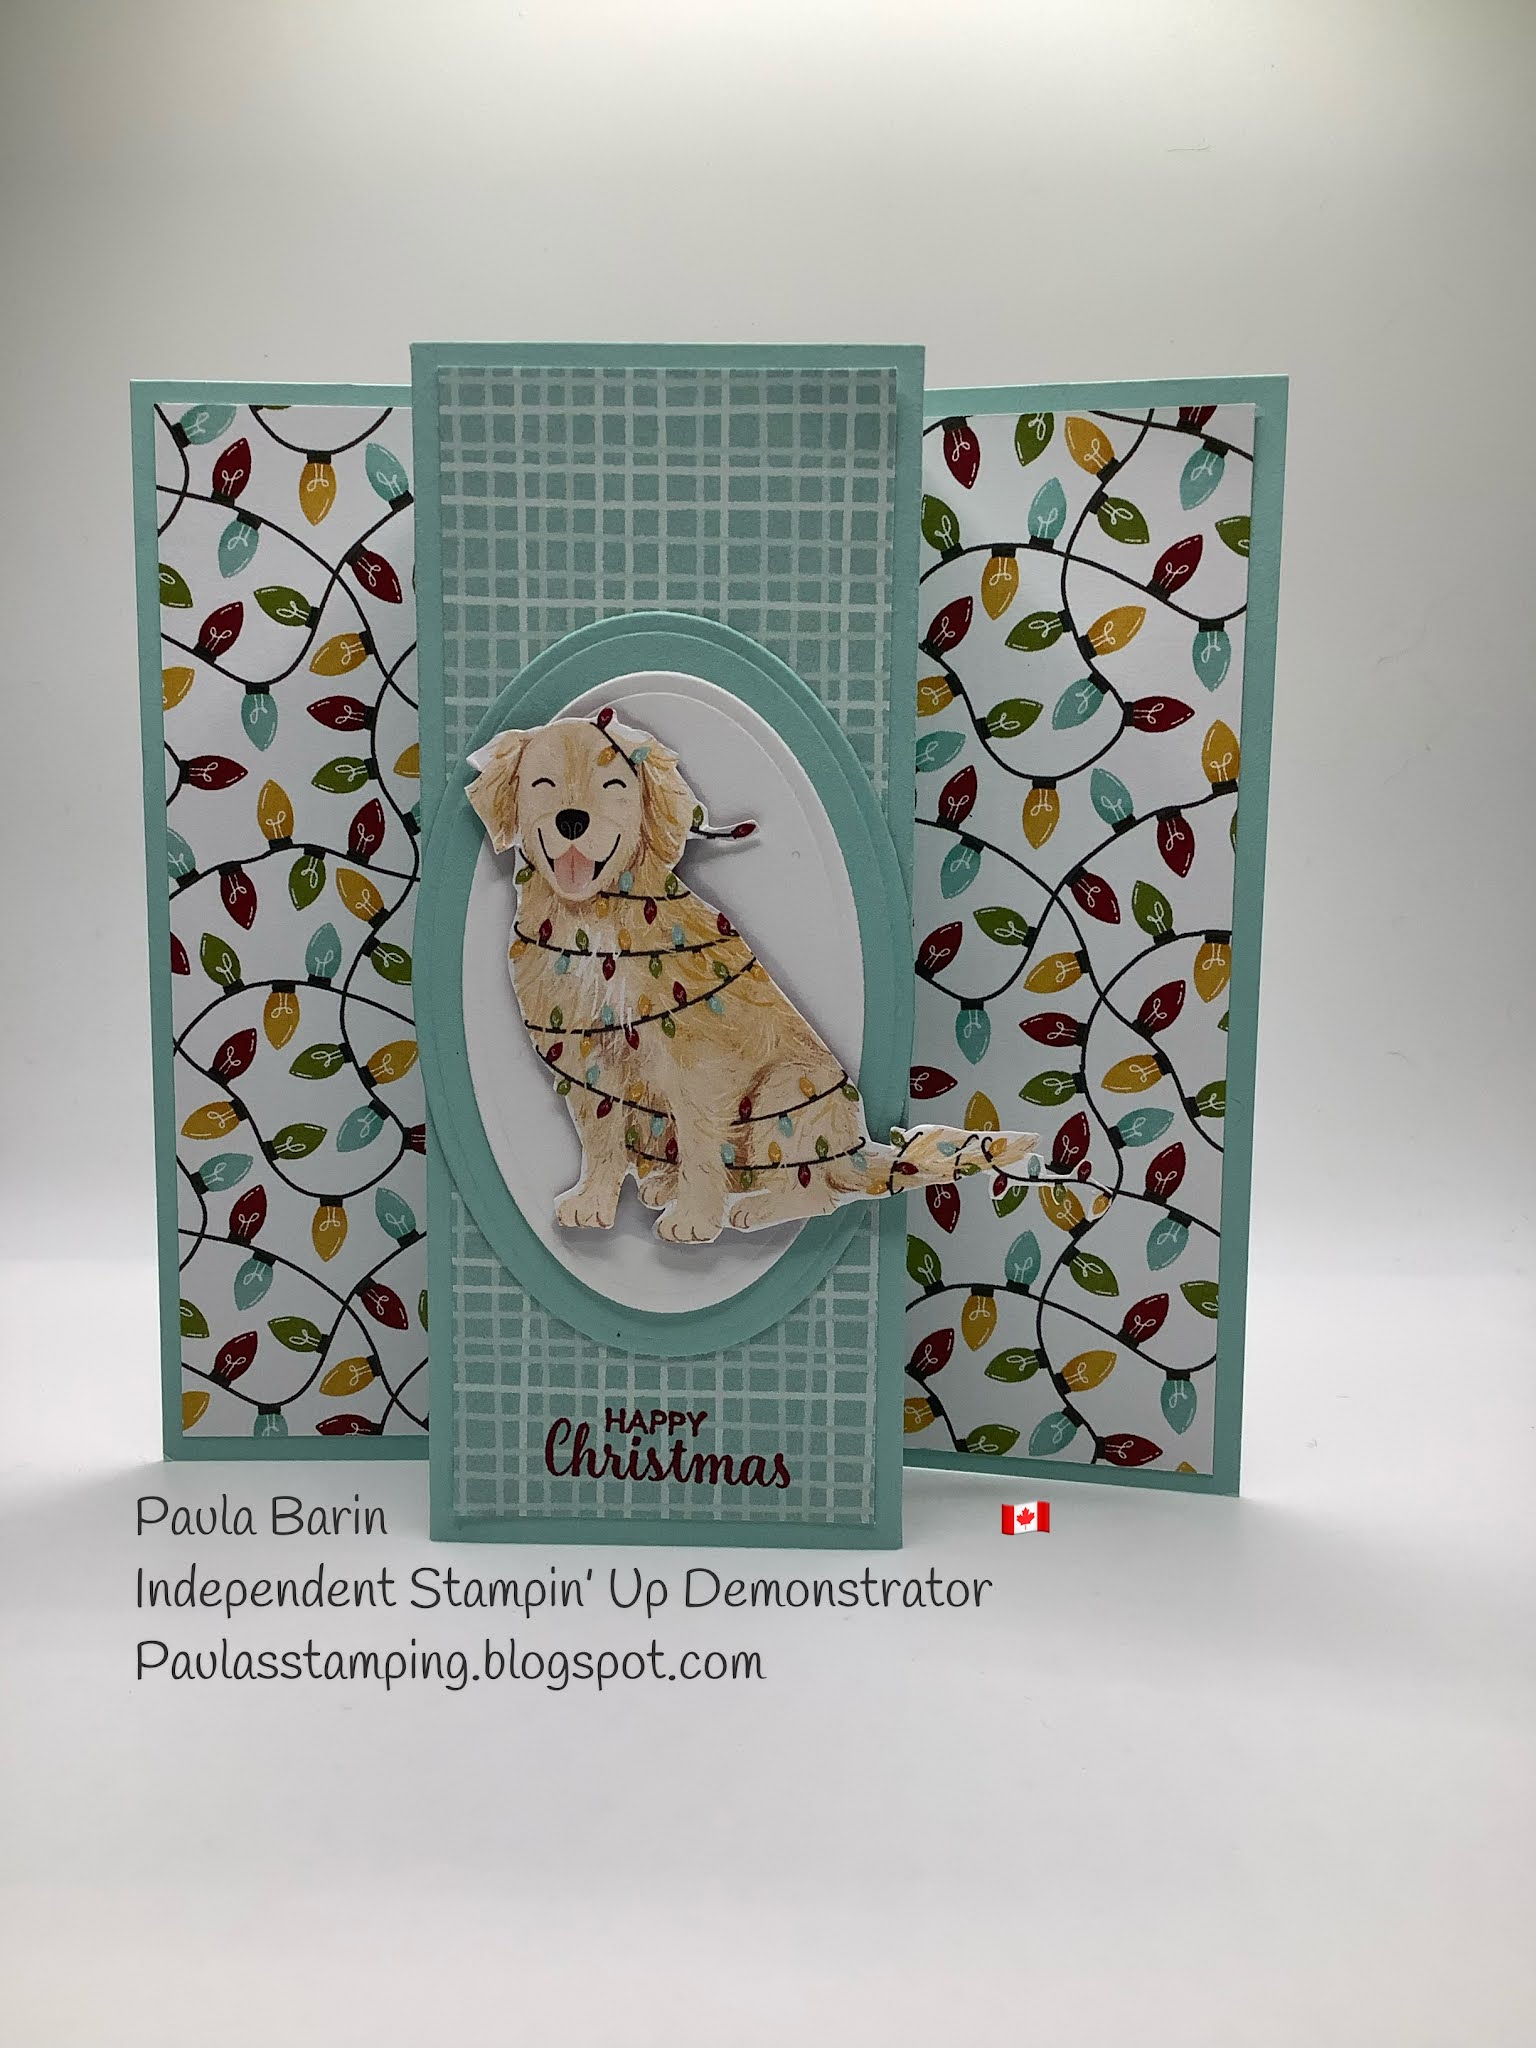
 You gotta love Stampin’ Up’s cute DSP. Sweet Stockings has adorable  animals for the festive season. Dogs, cats, mice and even a hamster…a pet for everyone! I’ve added this DSP to another fun fold card. 


There is plenty of space on the back for a personal sentiment.


This card measures 5 1/2”x 4 1/4”
Front of the card.
Base: Pool Party 8 1/2”x 5 1/2”, scored at 2” and 3 1/8” at each end. 
DSP: cut 2 side panels at 5 1/4”x 1 3/4” and 5 1/4”x 2” for the center panel 

Back of the card.
 DSP: cut 2 side panels at 5 1/4”x 1 3/4” and 5 1/4”x 2” basic white for the center panel 
Adhere your image to any shaped layers desired. 

Until next time.

Paula

Saturday, June 13, 2020

3D Peony

Hello,
I am in love with the Prized Peony stamps and dies. I CASE'd this card from Akiko Sudano at Stampin in the Meadows. Akiko has a video on how to assemble the 3D peony, and thank goodness she does because I would never have figured out how to do it. I changed my card up a bit, opting for a different sentiment and omitting the ribbon. I also added some dimentionals under the petals to give them a lift.


Products list: All Stampin' Up
Prized Peony stamp set
Peony Dies
Peony Garden DSP
Grey Granite Cardstock and Ink
Petal Pink Cardstock
Garden Green Cardstock
Daffodil Delight marker
Forever Fern Sentiment Stamp
Dimensionals

Until next time.

Paula