About

Showing posts with label Stampin' Up. Show all posts

Sunday, November 14, 2021

Poinsettia Petals

 Hello,

My friends and I always get together for a holiday luncheon. Last year we didn't because of  Covid but this year we have set a date. I made some pins for my friends, you can see them here. I wanted a pin for myself but in pink. I couldn't find any pink felt so I made one out of paper.  But not just any paper. I use the White Velvet paper from Stampin' Up.


I coloured the velvet paper with Blushing Bride using blending brushes. Blending brushes let you add colour in stages, whether light or dark depending on the amount of ink used. 

For this flower I cut out 2 large, one medium and 2 small poinsettias from the Pointsettia Petals dies. I stacked them off centre from each other adhering the petals with hot glue. Once I added leaves and the snowflake behind the flower,  I hot glued it to a piece of cardboard for stability. The pin is hot glued to the cardboard. The pins can be purchased at craft stores like Michael's.

I love the way this one turned out. 

Until next time....

Paula


Saturday, October 30, 2021

3x3 Cards

 Hello on a wet Saturday! A good day to stay indoors and craft.

3x3 cards are a perfect way to use up scraps, whether it be off cuts or images from DSP. The little cards can be used for gift enclosures or tags on gifts. 


So don't throw away those scraps. The next time you take flowers to someone, pop in a little 3x3 enclosure or hang one on the side of a gift bag or bottle of wine. These cards whip up in no time. 

Until next time....

Paula

Wednesday, October 27, 2021

Easel Card

 Easel cards are so cute. A regular card that pops up with a secret image or sentiment.


The card folds flat in order to fit into an A2 envelope. 


The center folded flap lifts up to reveal the sentiment. Be sure to pop up your sentiment strip with Dimensionals so the flap of the easel stands up.


There is space to write a personal note inside or a piece of card stock can be adhered to the back of the card.

Here are the measurements for this card:
Base: 5 1/2" x 4 1/4"
DSP for base: 5 1/4" x 4"
Easel base: 8 1/2" x 3" scored at 4 1/4" and 2 1/8"
White card stock for inside easel: 2 3/4" x 4"
White card stock to cut a 2 1/2" circle
Sentiment strip: 1/2" x 3"
Scrap card stock for embellishments

Note: if you are colouring your image with Stampin' Blends I suggest adding another circle behind as the ink will bleed through. 

Until next time.....

Paula


Sunday, October 24, 2021

White on White with a Pop of Red

 Hello,

A simple card with a couple of layers, embossing and an image. 


Card stock: Basic White and Mossy Meadow Stampin' UP
Embossing folder: Flourished Frame Provo Craft
Image: Wonderful Autumn Studio Light
Sentiment: Christmas Gleaming Stampin' UP
Until next time....

Paula


Saturday, October 23, 2021

Treat Box

 Hi,

Stepping away from cards today with this adorable treat box I saw Sam Hammond at pootles.co.uk make. The box measures 2" x 2" x 3". I can see these boxes at the holiday table filled with chocolate treats with each person's name on the top at their place setting. So cute!


This box is quick to put together. 
Bottom: 6" x 7" piece of card stock, scored at 2" on all sides
Lid: 4" x 5 piece of DSP, scored at 1" on all sides. (adjust the score slightly  by 1/16 of an inch).

Fold and burnish all the score lines then cut on the score lines pictured here.


Mitre the corner flap to relieve some bulk.

Then add adhesive to the corner flaps. Multi Purpose Glue or Stampin Seal+ works.

Fold the corner flaps to meet the sides of the box, making sure the edges are even.

And there you have the bottom of the box. 


Repeat the same procedure for the lid. Then decorate as desired.

Give these treat boxes a try. They can be made for any occasion...birthdays...Halloween...Easter....weddings, the possibilities are endless.

Until next time....

Paula


Friday, October 22, 2021

The Open Sea Birthday Card

 Hello,

Today's card can be made for any occasion. I chose to make a birthday card using The Open Sea stamp set paired with sentiments from the Best Year stamp set. The designer series paper  is the Well Suited. 


Dimensions for the fun fold:
Base: 4 1/4" x 8 5/8" scored at 3 1/8"
Card layer: 2 5/8" x 7" scored at 3 1/2" 
Layer for card layer: 2 7/8" x 3 3/4 "
Layer for front of  card layer: 4" x 2 7/8"
DSP for base: 4" x 5 1/4" 
DSP for Front right side layer: 2 7/8" x 4"
Scraps for images as desired
Adhere as shown in the photo.

Until next time....
Paula


Thursday, October 21, 2021

Beauty of the Earth

 Hello,

Today's card is an easy fun fold. It's a box card that folds flat for mailing.

The dimensions of the card is 5 1/2" x 4 1/4". Here's the recipe:

Base: 5 1/2" x 8 1/2" scored at 4 1/4"
Box: 5 1/4" x 8 1/2" scored at 1/2". 1", 4 1/2" and 5"

Fold and burnish all the score lines. Lay the card stock flat. If you are decorating the front  of the box with DSP this is the time to adhere it to the card stock then cut a window using whatever die you wish.  Adhere the 1/2" flap to the back of the card stock. I used tear and tape but glue would work too. There's the box portion of the card made. The inside DSP measures 5 1/4" x 3 1/2". Add some glue to the back of the DSP and slide it into the box. Adhere the box to the card base. Decorate as desired.

Thanks to Leena Girsa for the inspiration. You can watch Leena's tutorial HERE.

Until next time...

Paula


Wednesday, October 20, 2021

Sweets and Treats

 Do you have the Christmas spirit yet? Are you thinking of festive decorations or the sweet aroma of baking? With all the Christmas cards I've made so far it sure has me in a Christmassy mood. 

Today's card features the Sweets and Treats stamp set. I love these delightful treat images. They should be their own food group! 


I also made a pull card. You can find the tutorial on Lisa Curcio's blog Here.


Just pull on the ribbon and the message is revealed on a sliding card stock.


Just a note....don't stamp your sentiment in the middle of your card. As you can see here, the ribbon covers the sentiment. Stamp towards the top of your card. Also, it helps if the ribbon is not too thick. Here I used a grosgrain ribbon but I think a thinner satin ribbon would have worked better. Live and learn.

Only 66 days until Christmas 😲. I'd better get shopping!

Until next time....

Paula

Sunday, October 17, 2021

Nature’s Harvest

 Hi, 

Nature’s Harvest is becoming one of my favourite bundles. 

One of my other favourite die sets is Color and Contour. The scalloped dies are so pretty.

For today’s card I combined them both.


Until next time….

Paula


Friday, October 15, 2021

Ever Eden

 Hi,

Just a quick panel card to show off some of the new Ever Eden Designer Series Paper. 


Until next time…

Paula


Thursday, October 14, 2021

Eden's Garden

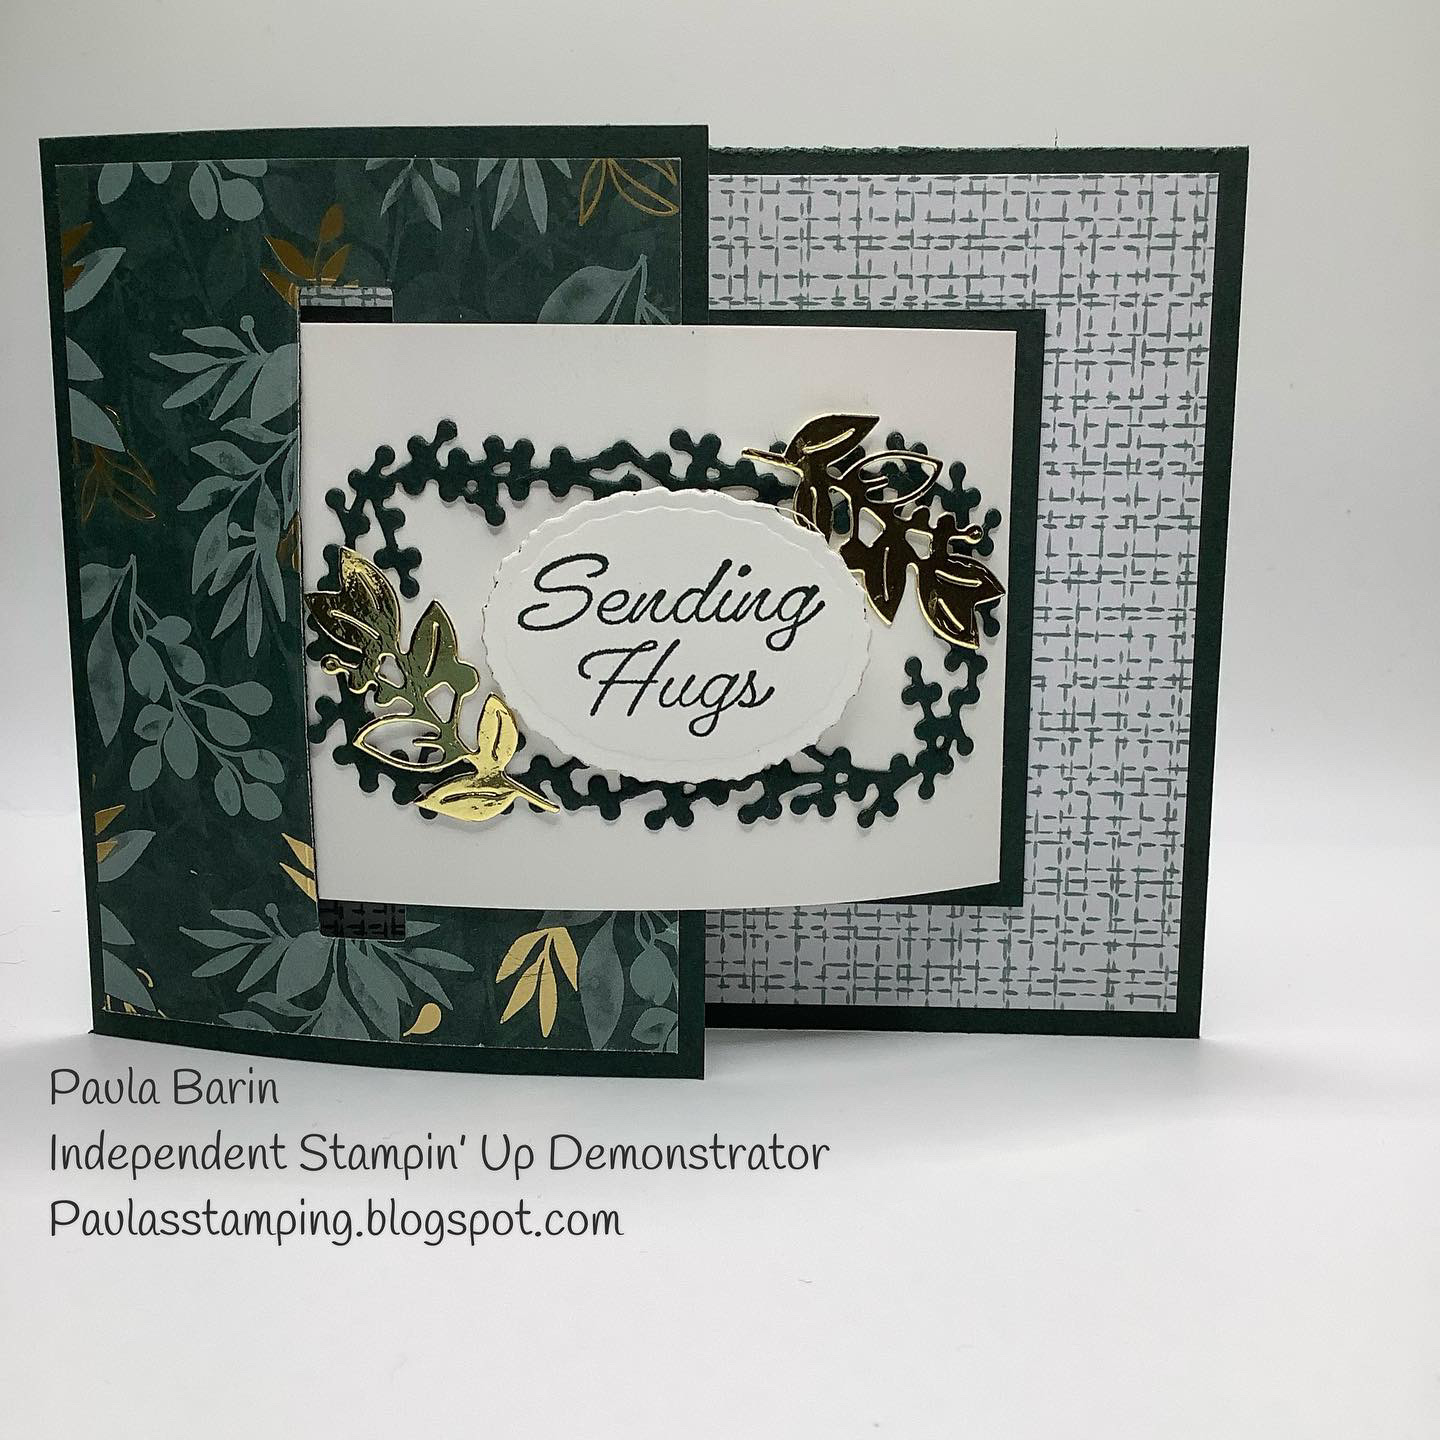
 Available November 2nd to Stampin' Up customers, this suite of products are gorgeous. Shop early before it sells out. I think it may be a popular purchase. 

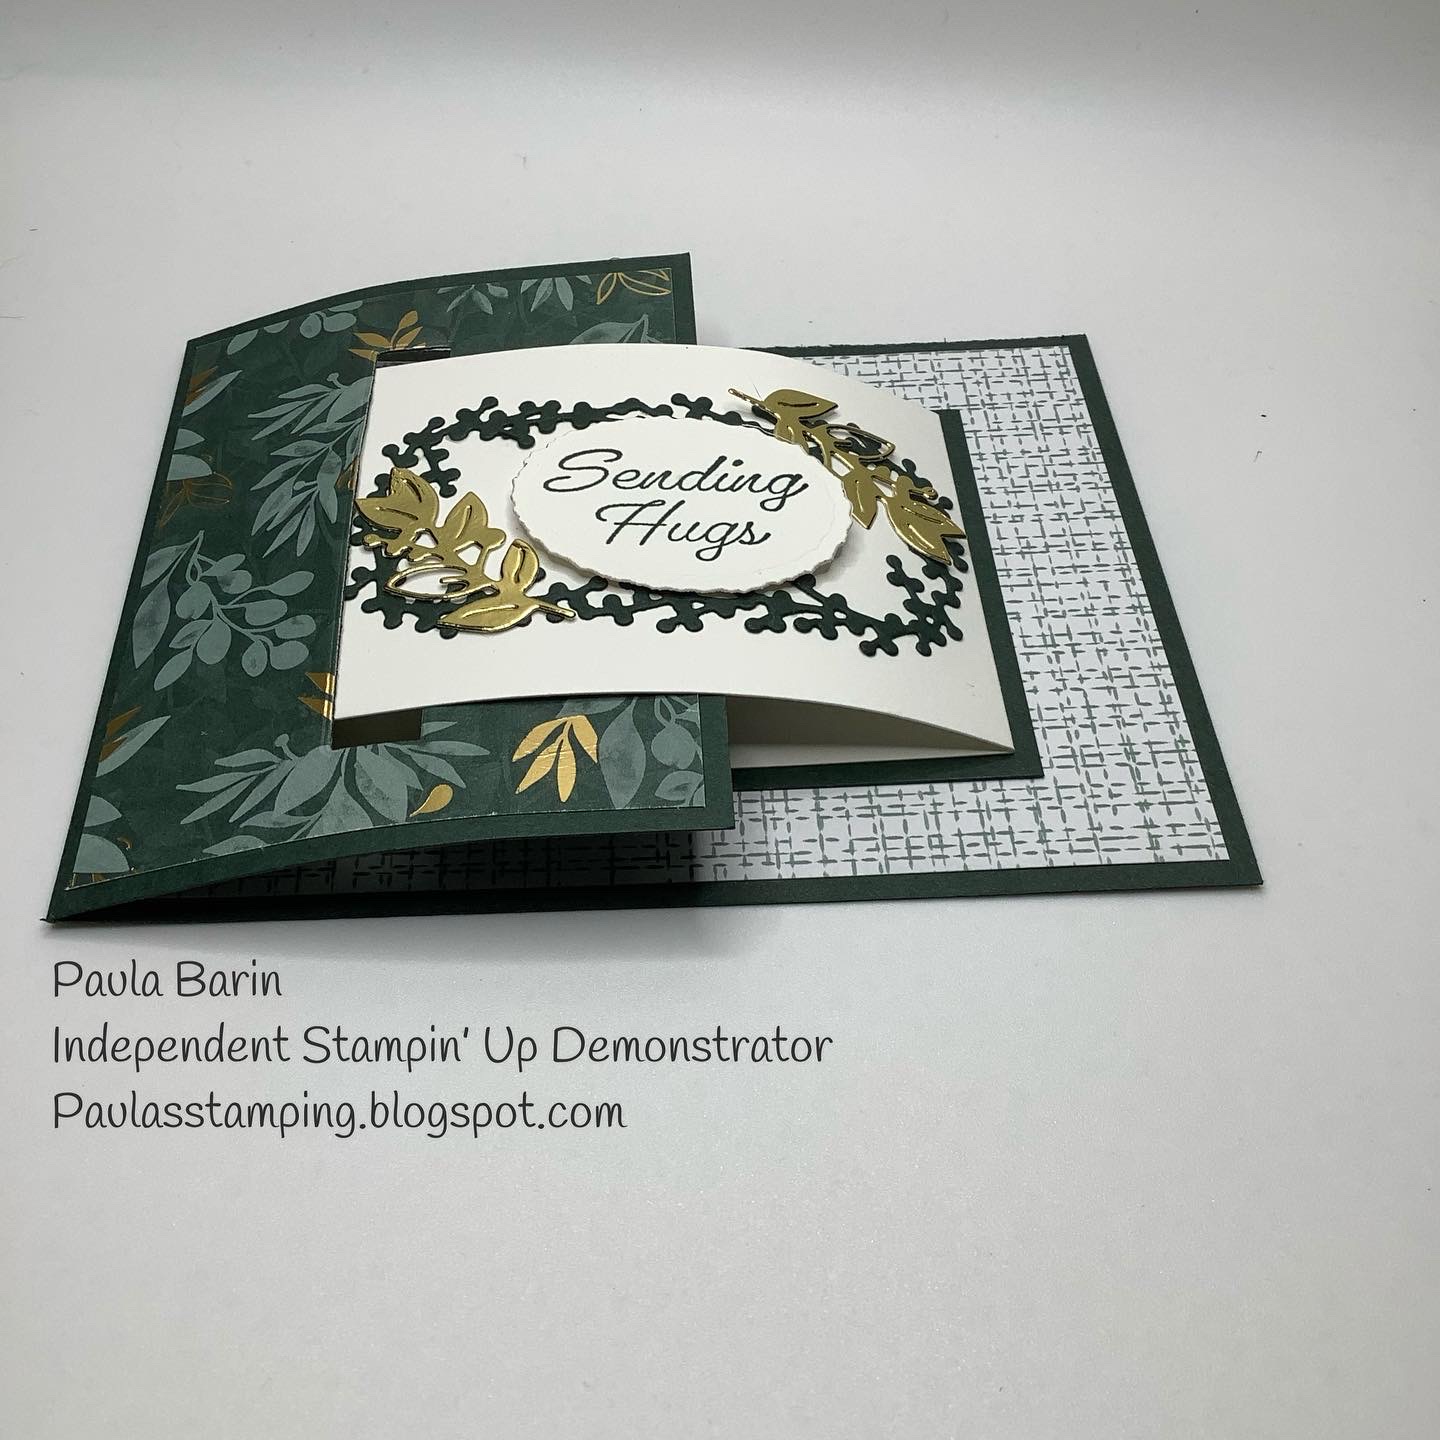
Today's card is called a buckle card. I saw this fun fold demonstrated on Lisa's Stamp Studio last night. See the way it "buckles"? But it does lie flat for mailing.

The inside portion tucks into a slit made with  any type of thin die you have on hand or using a craft knife to cut an opening measuring 7.5 cm x 1.2 cm or 3" x 1/2".


Perfect for any occasion.


Cutting Dimensions:

 • Evening Evergreen (base): 4 1/4" x 8 5/8”, score at 3 1/8”

 • Designer Series Paper (left panel): 2 7/8” x 4” 

• Designer Series Paper (center/back layer): 4” x 5 1/4" 

• Evening Evergreen (card layer): 2 7/8” x 3 3/4" 

• Thick Basic White (card): 2 5/8” x 7”, score at 3 1/2

Gold scraps for embellishments.

Check out Lisa's demonstration here.


Until next time....


Paula

Wednesday, October 13, 2021

Nature's Harvest

 Hello,

Today's card combines the Nature's Harvest bundle with a new bundle called Eden's Garden. From this new collection I used the Ever Eden DSP and the label die for this card. 


Eden's Garden Collection available November 2nd, 2021. 

Shop early while supplies last!

Until next time....
Paula


Friday, October 8, 2021

Pinwheel Tower Card

 Today's card features a pinwheel tower card. This card gave me some grief when I first made one. It was in the portrait orientation with not enough room to decorate.  Julie at The Paper Pixie, showed a landscape tutorial on the tower card. Her instructions were clear and easy. Here is my version.

I chose the Peaceful Prints for my card.

The sentiment is from the Holly Jolly Wishes stamp set.

Snowflake embellishments are adhered flat to the DSP. Using dimensionals will add to the thickness of the card and may require extra postage. If the card is not going through the post, add all the embellishments you want.


Plenty of room to write a personal note.

Often Basic White is a go to for a card base. Don't forget other neutrals, like Sahara Sand (used for this card), Very Vanilla or Crumb Cake.

Until next time....

Paula


Wednesday, October 6, 2021

Harvest Meadow

 I have been waiting for these backordered dies. They just arrived yesterday! 

                                                                                  ðŸ‘‡


For this card I used one of my favourite greens, Soft Succulent which coordinates with the Harvest Meadow DSP.

I think I am going to get a lot of use out of this set. 

Until next time....

Paula


Tuesday, October 5, 2021

Whimsical Trees

 A rather grey day here so a perfect day to stay indoors and craft. 

Today's card uses the Whimsical Trees dies. You can bundle the dies with the stamp set and save 10%.


I paired the trees with a sentiment from the Holly Jolly Wishes stamp set which fits perfectly on the Stitched So Sweetly dies.


Whimsical Tree dies with stamp set.

Holly Jolly Christmas stamp set.

My favourite thing about Stampin Up is the coordination. Stamp sets are mix and match and their DSP always coordinates with their card stock. 

Until next time....
Paula


Sunday, October 3, 2021

Delicate Dahlia

 Hello,

This is the first time I've inked up the Delicate Dahlia stamp set. 


I chose to make a thank you card, layering the dahlia flowers around the sentiment. I stamped the sentiment on the cardstock first then fussy cut 5 dahlias and adhered them to the edge of a 4 x 5 1/4 piece of cardstock and trimmed away the excess. The flowers are popped up on dimensionals.


The sentiment is from the Biggest Wish stamp set. 


Until next time.

Paula


Monday, September 27, 2021

Let it Snow! Swing Card

 Let it snow...but not yet! Let's enjoy autumn.

For today's card I used the Peaceful Prints DSP. I love Stampin' Up's double-sided paper. 


Of course the little critters from the Penguin Playmates had to make an appearance.


This card is called a swing card. When the card is opened the centerpiece swings so that it is visible on the inside. I saw the tutorial on Lisa's Stamp Studio https://lisasstampstudio.com/2021/09/diy-handmade-pop-out-swing-card-tutorial.html. 


The 'Let it Snow' sentiment is from the Snowman Season stamp set, available in the Annual Catalogue 2021-2022


Have you started your Christmas/Holiday cards yet?

Until next time.

Paula


Sunday, September 26, 2021

Sweet Treats

 How cute are these treats? And no calories!


These yummy desserts are from the Sweets and Treats stamp set.


I fussy cut them out and adhered them to a circle embossed with the Painted Texture folder.


 I used a neutral background, from the Peaceful Prints Designer Series Paper  from the Sale- a -Bration catalogue,  in order to showcase the delectable delights. 

Remember the Sale-a-Bration catalogue runs to the end of September so get your orders in!


Until next time.

Paula